Easy Origami Seahorse: Step-by-Step Paper Craft
Origami Seahorse tutorials are a fantastic way to bring a touch of the ocean into your home! Imagine a delicate, gracefully curved seahorse, its tiny snout poised and its spiraled tail curled, ready to float through imaginary waters. This adorable model is perfect for complete beginners and younger crafters, taking about 15-20 minutes to complete. Whether you’re looking for a fun afternoon activity, a charming decoration for a beach-themed room, or a thoughtful handmade gift, this tutorial has you covered.
In this step-by-step guide, I’ll walk you through each fold with clear instructions, showing you how to transform a simple square of paper into this enchanting sea creature. You’ll learn fundamental origami techniques that are easy to master but will open the door to many more paper-folding adventures. Let’s get folding!
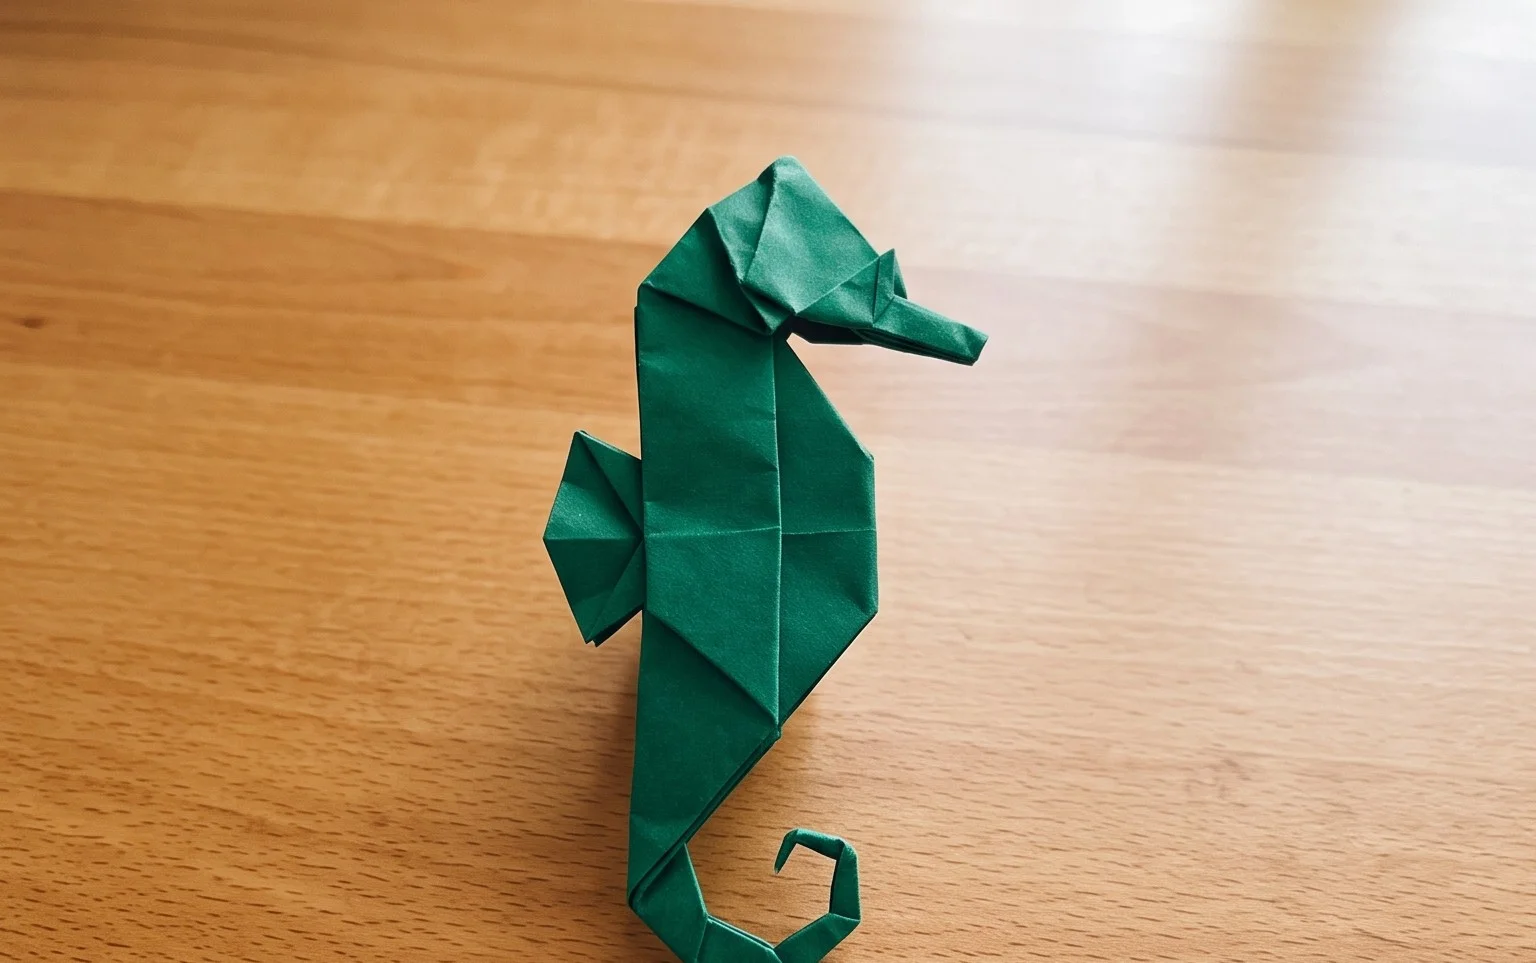
Origami Seahorse: Step by Step Instructions
Hello there! I’m so excited to guide you through the magical world of origami with this beautiful seahorse model. Origami can seem a bit daunting at first, but with a little patience and careful folding, you’ll be creating stunning paper creatures in no time. The seahorse is a wonderfully graceful model, and while it has a few more steps than a simple crane, it’s perfectly achievable for a beginner who’s willing to take their time. Let’s dive in and bring this charming sea dweller to life!
Choosing Your Paper
The foundation of any good origami model is the paper you choose. For this seahorse, I highly recommend using standard origami paper. This paper is specifically designed for folding, meaning it’s thin enough to allow for many layers without becoming too bulky, yet strong enough to hold crisp creases.
When you’re starting out, a square sheet of 6-inch (15cm) origami paper is ideal. This size is manageable, allowing you to see your folds clearly without being too small to handle. You can certainly use larger paper as you gain confidence, but for your first seahorse, stick with this standard size.
As for the colour, single-sided origami paper works beautifully. This means one side is coloured and the other is white. When we start folding, we’ll begin with the coloured side facing up. This will allow the seahorse’s vibrant colour to be the dominant feature of the finished model, with just hints of white peeking through in strategic places, adding a lovely visual depth.
The Base Folds: Building a Strong Foundation
Before we get to the specific seahorse folds, let’s practice a couple of fundamental folds that will be used repeatedly. Making these folds clean and precise from the start will make the entire process much smoother.
-
Valley Fold:
This is the most basic fold. Imagine you’re folding a piece of paper in half to create a “V” shape. You bring one edge or corner to meet another, creasing the paper along the line where they meet. The crease will point upwards, like a valley.
-
Mountain Fold:
This is the opposite of a valley fold. After making a valley fold, you can unfold it and then push the crease upwards from the other side, so it looks like a mountain peak. We’ll often make a valley fold and then “reverse” it into a mountain fold as we progress.
To make your folds clean, always align edges and corners as perfectly as possible. Once aligned, run your fingernail firmly along the fold line. This sharpens the crease and makes subsequent steps easier. Don’t be afraid to press firmly!
Step-by-Step Origami Seahorse Instructions
Alright, let’s begin folding our seahorse! Remember to work on a flat surface and to crease each fold firmly.
- Start with your square piece of origami paper. Place it on your flat surface with the coloured side facing up.
- Fold the paper in half diagonally. Bring the bottom-left corner up to meet the top-right corner. Crease firmly. You will now have a triangle.
- Unfold the paper. You should see a diagonal crease going from one corner to the opposite.
- Now, fold the paper in half diagonally the other way. Bring the bottom-right corner up to meet the top-left corner. Crease firmly. You will have another triangle.
- Unfold the paper again. You should now have two diagonal creases forming an “X” across your square.
- Flip the paper over so the white side is facing up.
- Fold the paper in half horizontally. Bring the bottom edge up to meet the top edge. Crease firmly. You will have a rectangle.
- Unfold the paper.
- Fold the paper in half vertically. Bring the left edge over to meet the right edge. Crease firmly. You will have another rectangle.
- Unfold the paper. You should now have horizontal and vertical creases forming a “+” sign on the white side, and the “X” from before on the coloured side.
- Now, we’re going to collapse the paper into a “preliminary base” or “square base”. Hold the paper with the white side up. Gently push the left and right edges inwards towards the centre. The top and bottom edges should start to come together. As you do this, the diagonal creases will help guide the paper. You want to bring the top point down to meet the bottom point, collapsing the paper into a smaller square. The coloured side should now be on the outside of this new square. This is your preliminary base.
- Orient the preliminary base so the open flaps are pointing towards you.
- Take the top flap on the right side. Bring its bottom edge to meet the centre vertical crease. Crease firmly.
- Repeat the previous step with the top flap on the left side. Bring its bottom edge to meet the centre vertical crease. Crease firmly. You will now have a kite shape on top.
- Fold the small triangular flap at the top downwards, over the two flaps you just folded. This flap’s point should go down to where the two flaps meet at the bottom. Crease firmly.
- Unfold the last three folds (steps 12, 13, and 14). You should see creases that form a kite shape.
- Now, lift the very top layer of paper only. Open it up by lifting the point upwards, using the creases you just made as guides. You want to “petal fold” this section. The side edges will naturally come inwards along the creases you made. Flatten this section down so it becomes a tall diamond shape. This is called a “petal fold”.
- Flip the entire model over.
- Repeat steps 12 through 16 on this side. You should end up with a tall diamond shape on both sides. This is now your “bird base”.
- Orient the bird base so the open flaps are at the bottom.
- Take the right-hand flap of the top layer. Fold its bottom edge to meet the centre vertical crease. Crease firmly.
- Repeat with the left-hand flap of the top layer. Fold its bottom edge to meet the centre vertical crease. Crease firmly.
- Flip the entire model over.
- Repeat steps 20 and 21 on this side. You will now have a narrower diamond shape with two points at the bottom.
- Look at the bottom of your model. You have two long, thin points. These will become the seahorse’s tail and head/snout. Take the right-hand point. This will be the tail. Fold it upwards and to the left at an angle. You decide the angle – this is where you start giving your seahorse its characteristic curve. Crease firmly.
- Take the left-hand point. This will be the head and snout. Fold it upwards and slightly to the right at an angle, but less steeply than the tail. Crease firmly.
- Now, let’s refine the head. Take the tip of the left-hand point (the one you just folded up for the head). We’re going to perform an “inside reverse fold” to create the snout. Gently open the layers around the tip. Push the very tip inwards between the layers, and then re-crease the fold so that the tip now points forwards, creating a small beak-like snout. This is a tricky fold, so be patient.
- Now for the body curve. Hold the model. Gently pull the body apart slightly and encourage the tail to curve more dramatically. The creases we made earlier will help guide this. You can also gently curve the tail with your fingers.
- To create the dorsal fin, look at the top edge of the seahorse’s body, between the head and the tail. There should be a small triangular section formed by the paper. Fold this small triangle downwards. This creates the fin. You can adjust the size and angle of this fold.
- To finish, gently adjust any folds to make your seahorse look balanced and graceful. You can gently curve the body, or adjust the tail’s angle.
Common Pitfalls and How to Avoid Them
Don’t worry if your first seahorse isn’t perfect! There are a few places beginners often encounter difficulties. Here’s how to navigate them:
-
Messy Preliminary Base (Step 10):
This is a crucial step. If your preliminary base isn’t a neat square, subsequent folds will be misaligned. To avoid this: Ensure you’ve made all the initial diagonal and horizontal/vertical creases clearly. When collapsing the paper, don’t force it. Gently guide the edges inwards, allowing the existing creases to do the work. Make sure the coloured side is on the outside of the finished square.
-
Uneven Petal Folds (Step 15):
The petal fold can be tricky because you’re folding a layer of paper upwards and inwards. To avoid this: Ensure you’ve unfolded the previous steps completely. Work with one flap at a time. Lift the top layer only and use the creases you made in steps 12 and 13 as your guides. Flatten the fold carefully and symmetrically.
-
The Inside Reverse Fold for the Snout (Step 25):
This fold is where many beginners get stuck. It requires manipulating paper from the inside. To avoid this: Be gentle! Don’t try to force the fold. Loosen the layers around the tip of the head slightly. Push the tip inwards with your fingertip, and then re-flatten the crease. It might take a couple of tries to get it right. If it’s too fiddly, you can skip this step and just have a pointed snout. The model will still be recognizable.
Varying Your Origami Seahorse
The beauty of origami is its versatility! Once you’ve mastered the basic seahorse, you can start experimenting:
-
Size:
Simply use larger or smaller square pieces of paper. A 9-inch (23cm) square will yield a larger seahorse, while a 3-inch (7.5cm) square will make a tiny, delicate one.
-
Paper Pattern:
Origami paper comes in an incredible array of patterns – floral, geometric, marbled, and more! Using patterned paper will give your seahorse a unique and artistic flair. Consider a pattern that evokes the ocean or has a subtle texture.
-
Colour:
Try using paper that’s coloured on both sides, or experiment with different colour combinations. You could even try using a metallic paper for a shimmering effect.
Displaying and Gifting Your Seahorse
Your finished origami seahorse is more than just a folded piece of paper; it’s a work of art! Here are some ideas for showcasing your creation:
-
Desktop Decoration:
Place your seahorse on your desk, bookshelf, or windowsill. It adds a touch of whimsy and elegance to any space.
-
Mobile or Garland:
Punch a small hole in the tail or back and string several seahorses together to create a charming mobile or a festive garland. This is especially lovely for a child’s room or a nautical-themed party.
-
Gift Topper:
Attach a seahorse to a gift with a bit of ribbon or double-sided tape. It’s a personal and creative way to elevate any present.
-
Part of a Diorama:
Create a mini underwater scene with blue cellophane, some pebbles, and your seahorse.
-
A Thoughtful Gift:
A handmade origami seahorse is a wonderful gift for friends, family, or anyone who appreciates handcrafted items. It’s a symbol of patience, precision, and the beauty of nature. You could present it in a small box or a clear display case.
I hope you’ve enjoyed folding your origami seahorse! Remember, every fold is a step towards creating something beautiful. Keep practicing, and don’t be afraid to experiment. Happy folding!
Conclusion
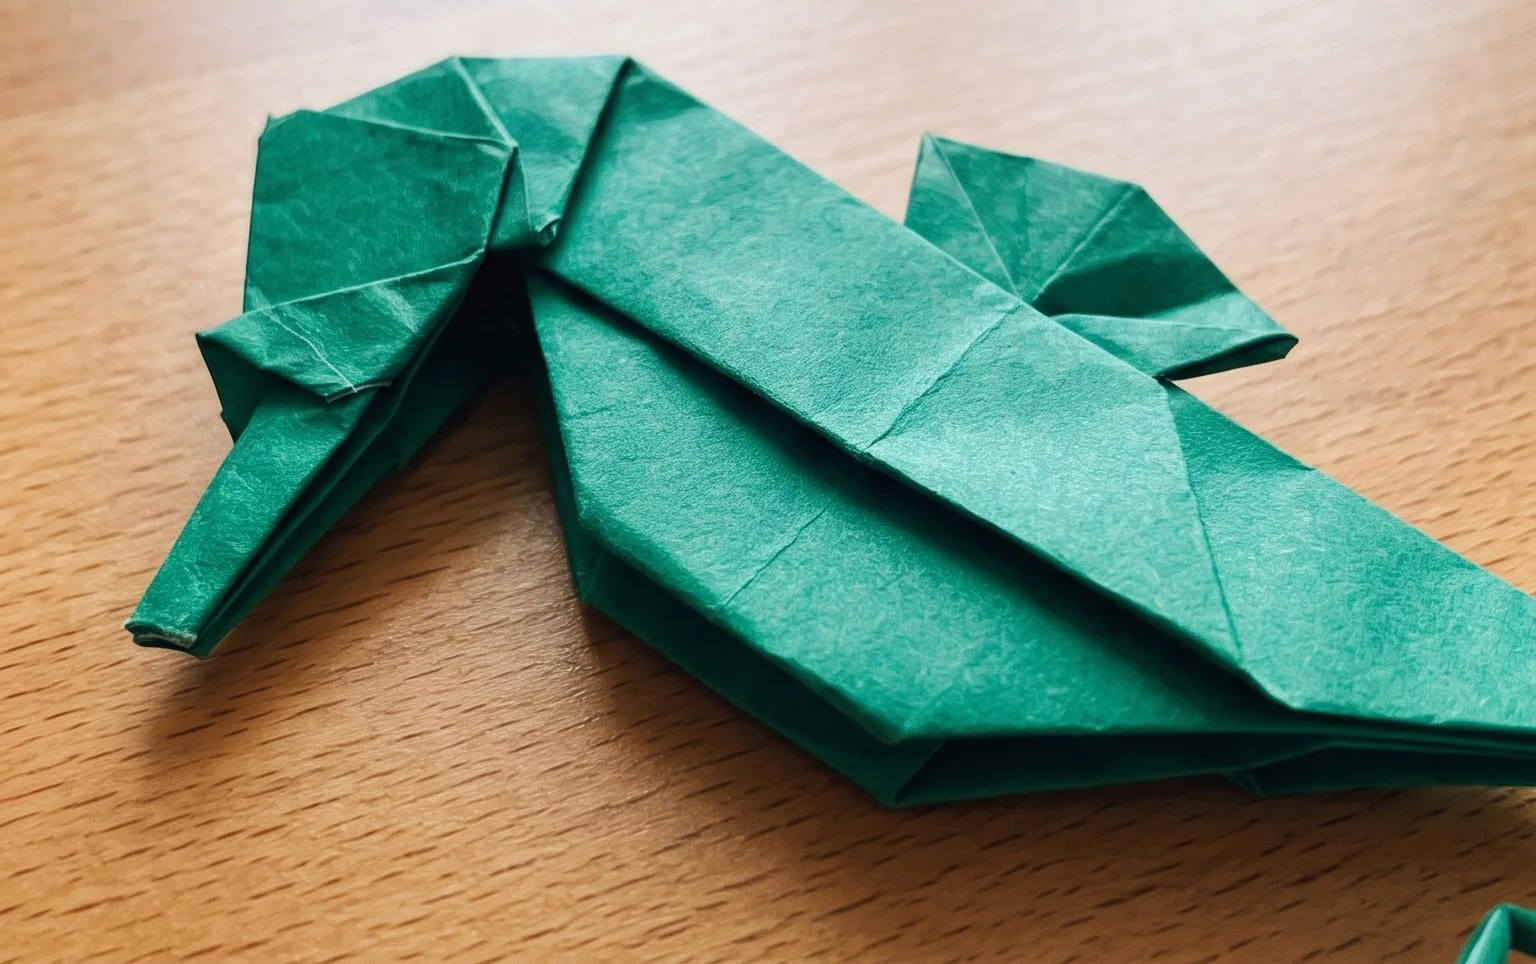
Congratulations on folding your very own origami seahorse! We hope you enjoyed this step-by-step tutorial. Don’t worry if your first attempt isn’t perfect; practice makes perfect, and each fold brings you closer to mastering this charming sea creature. We’d love to see your beautiful origami seahorse – feel free to share a photo!
Ready for more paper adventures? Try folding a classic origami crane or perhaps a playful origami fish next. The world of paper folding is vast and exciting, so keep exploring and creating!
